Displaying 4-20 mA via Panel Meter
- The Kayden CLASSIC 800 Series features a 4-20 mA analog output feature and Modbus communication.
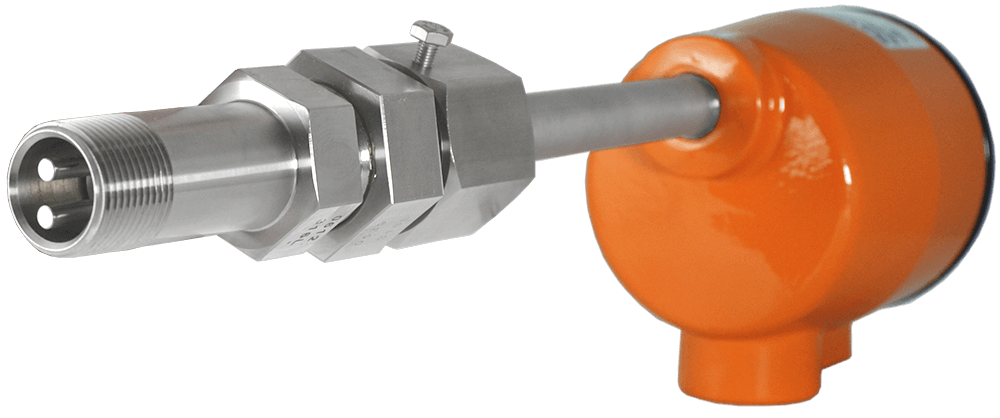
- This instrument is a thermal dispersion flow, level, interface, and temperature switch and transmitter.
- The Kayden CLASSIC 800 Series supports an analog output current loop (4-20 mA).
The 4-20 mA signal is an analog representation of the thermal signal on the thermal signal bar graph on the display panel of the Kayden CLASSIC. Please note that the 4-20mA output signal corresponds to the scaled thermal signal view as determined by the range (LED-0 and LED-100 pointers). The 4-20mA signal may display either as forward-acting (ascending 4-20mA) or reverse-acting (descending 20-4 mA).

View or Adjust the 4-20 mA Output Current Mode
- Press and release the SET button until the fault LED is flashing and the Run Mode LED is off.
- The thermal Signal Bar Graph now shows the 4-20 mA Output Mode.
-
-
- For forward-acting (ascending) [0% = 4mA] the 0-25% LEDs illuminate
- For reverse-acting (descending) [100% = 4 mA] the 75-100% LEDs illuminate
-
Connect a Panel Meter to display the 4-20 mA analog output feature on the Kayden CLASSIC 800. This step is only necessary when connecting a meter to demonstrate the 4-20mA analog output signal. These instructions are not part of the setup for the Kayden CLASSIC 800.
Requirements to Demonstrate the 4-20 mA Analog Output Feature of the Kayden CLASSIC 800
- a Kayden CLASSIC 800 with the DC input power adapter
- the Quick Setup Guide or Product Manual for the CLASSIC 800
- a small (3-4″) length of (22 gauge) insulated wire for a jumper
- any small panel meter that reads mA (250 ohm load)
 Connecting the Panel Meter
- first, remove the Kayden CLASSIC electronics module from the enclosure to permit access to the wiring terminals in the base plate inside the enclosure
- next, connect the jumper wire between LOOP+ and +VDC
- then, connect the positive lead from the panel meter to the LOOP-
- connect the negative lead from the panel meter to -COMMON
- last, reinstall the Electronics Module:
-
-
- With the enclosure right-side-up (conduit connection facing down), tuck the excess cable behind the left side of the base plate, starting at the top.
- Then, making sure that all wires and the cable are not covering the connectors, give the Electronics Module 1/4 turn counter-clockwise to keep the cable between the connectors.
- Last, gently push the Kayden CLASSIC Electronics Module into place. You should feel it click home with minimal force. However, if it will not seat, check the cable.
-